

Article details
Concrete Testing in Construction: Methods, Procedures, and Acceptance
Concrete is the most widely used construction material, and its quality decides the safety and life of a structure. Because concrete is made on site or in a batching plant from variable ingredients, it must be tested at several stages: before it is mixed, while it is fresh, after it hardens, and, where doubt exists, in the finished structure. This article explains each test, its purpose, and how results are used.
Why Concrete Testing Matters
Confirms the concrete meets the specified grade and strength
Detects variations in materials, mixing, and water content early
Provides legal and contractual proof of quality
Guides decisions on formwork removal, loading, and acceptance
Identifies defects and deterioration in existing structures
Stages of Concrete Testing
Stage | Purpose |
|---|---|
Ingredient testing | Check cement, aggregates, water, and admixtures |
Mix design and trial mixes | Prove the proportions achieve the target strength |
Fresh concrete tests | Check workability and consistency at delivery and placement |
Hardened concrete tests | Measure strength and durability |
In-situ and non-destructive tests | Assess concrete in the finished structure |
1. Testing of Ingredients
Before any concrete is produced, the materials are verified.
Cement: fineness, consistency, setting time, soundness, compressive strength
Fine aggregate (sand): sieve analysis, silt content, specific gravity, bulking
Coarse aggregate: sieve analysis, flakiness and elongation, crushing and impact value, water absorption
Water: pH, chlorides, sulfates, organic and suspended impurities
Admixtures: compatibility and performance data
2. Mix Design and Trial Mixes
A mix design determines the proportions of cement, water, sand, aggregate, and admixtures required to reach the target mean strength, which is higher than the specified characteristic strength to allow for variation. Trial mixes are cast, and cubes are tested at 7 and 28 days before the mix is approved for use.
3. Tests on Fresh Concrete
These are done at the point of delivery or placement, before the concrete sets.
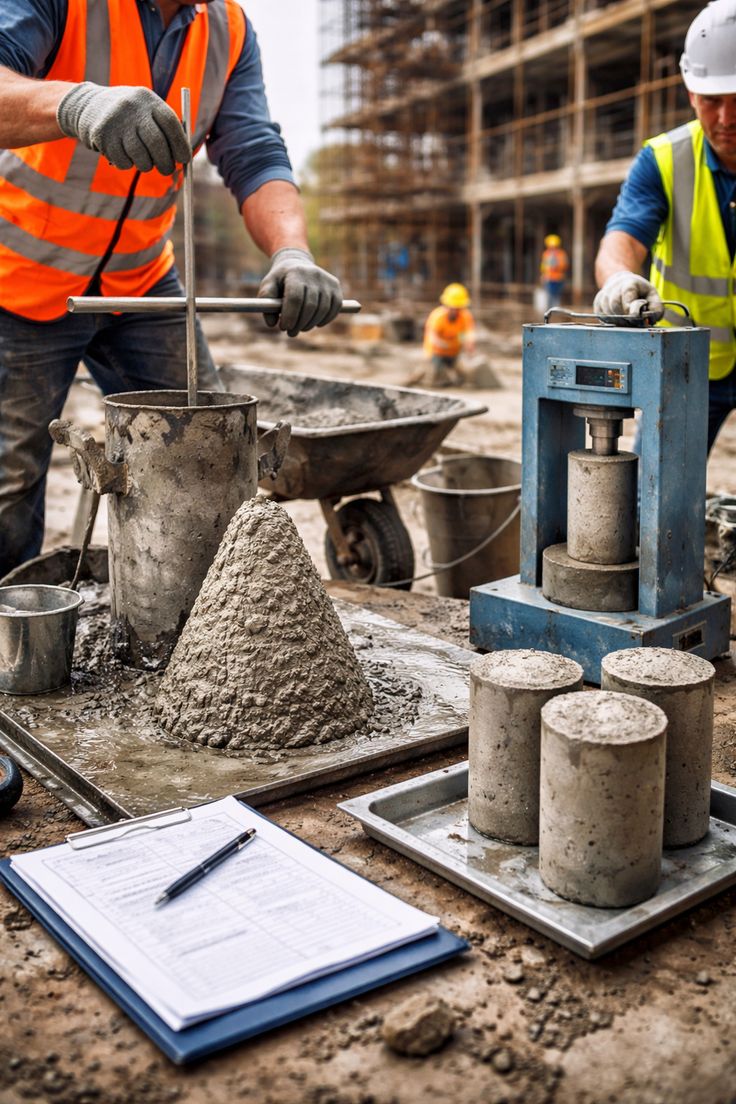
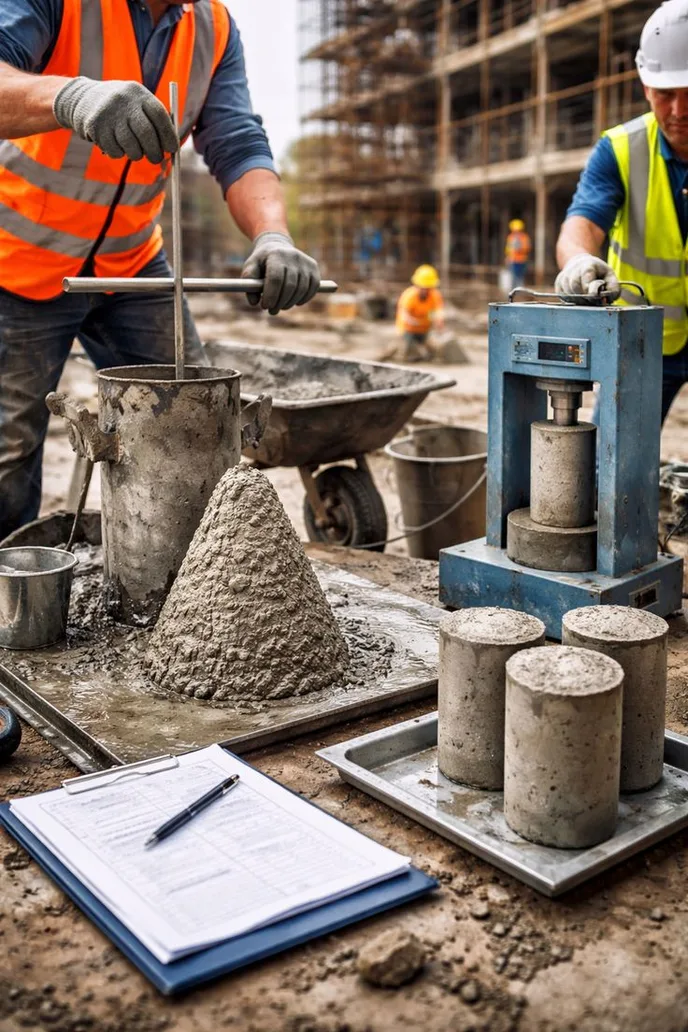
Slump Test
The most common workability test.
Procedure
Moisten the slump cone (300 mm high, 200 mm bottom diameter, 100 mm top diameter) and place it on a flat, non-absorbent base.
Fill in three layers, tamping each layer 25 times with a 16 mm rod.
Strike off the top, then lift the cone vertically in a steady motion.
Measure the drop of the concrete from the cone height. This is the slump.
Interpretation
True slump: concrete settles evenly. Record the value.
Shear slump: one side slips off, so repeat the test.
Collapse slump: too wet, so reject or adjust.
Typical slump values depend on use: roughly 25 to 75 mm for foundations and mass concrete, 50 to 100 mm for slabs and beams, and 100 to 150 mm or more for pumped or congested sections. Follow the project specification.
1. Workability & Rheology Tests
Different mix designs and applications require specific workability test procedures based on concrete consistency:
Test Method | Target Workability / Mix Type | Primary Parameter Measured | Key Application |
Compaction Factor Test | Low to medium workability | Ratio of partially compacted to fully compacted density | Mass concrete, precast elements |
Flow Table Test | High flowability / high-slump mixes | Diameter spread (mm) after 15 standard drops | Heavily reinforced sections, pumped concrete |
Vee-Bee Consistometer | Very low to zero-slump (dry) mixes | Time (seconds) to remold cone into a cylinder | Pavement concrete, roller-compacted concrete (RCC) |
Self-Compacting Concrete (SCC) | Highly fluid, non-segregating mixes | Slump flow diameter, $T_{500}$ time, L-Box/J-Ring passing ability | Complex structural formwork, dense rebar cages |
2. Volumetric & Physical Property Tests
Air Content Test: Uses the pressure meter method (ASTM C231 / IS 1199) or volumetric method (ASTM C173) to measure entrained air bubbles essential for freeze-thaw durability.
Density (Unit Weight) Test: Measures fresh density ($\text{kg/m}^3$ or $\text{lb/ft}^3$) to check mix yield, proportion accuracy, and batch uniformity.
Bleeding & Segregation Assessment: Evaluates excess free water migrating to the surface (bleeding) or coarse aggregates separating from mortar matrix (segregation) due to over-vibration or high water-cement ratio.
3. Thermal Monitoring
Fresh Concrete Temperature Test: Measured directly at batch delivery or point of placement. Recommended placement temperatures typically range between 5°C and 32°C. Extreme high temperatures accelerate hydration and setting time, while low temperatures severely delay strength development.4. Tests on Hardened Concrete
Compressive Strength Test (Cube or Cylinder)
The primary acceptance test.
Sampling and casting
Take samples randomly from the concrete delivered, at the point of placement.
Use clean, oiled steel or cast iron moulds: 150 mm cubes (IS and BS practice) or 150 x 300 mm cylinders (ASTM practice).
Fill in layers, compact by tamping or a vibrating table, and level the top.
Cover and store the moulds undisturbed for about 24 hours.
Demould and cure in water at around 27 plus or minus 2 degrees Celsius (IS) or 20 plus or minus 2 degrees Celsius (BS and others).
Test at 7 days (indicative) and 28 days (acceptance).
Testing
Place the specimen in the compression testing machine and apply load at the specified rate, commonly 140 kg/cm2 per minute (about 14 N/mm2 per minute) under IS practice. Record the failure load.
Compressive strength = Failure load / Cross-sectional area
Frequency (typical IS guidance)
1 to 5 cubic meters: 1 sample
6 to 15 cubic meters: 2 samples
16 to 30 cubic meters: 3 samples
31 to 50 cubic meters: 4 samples
Above 50 cubic meters: 4 samples plus 1 additional sample for each additional 50 cubic meters or part thereof
Each sample is usually made of three specimens. Always follow the code and specification applicable to your project.
Acceptance (typical IS 456 criteria)
The mean of a group of test results must meet or exceed the specified characteristic strength plus a margin
No individual result may fall below the characteristic strength minus a set margin (commonly 3 to 4 N/mm2 depending on the grade)
Different codes use different statistical acceptance rules, so check the governing standard.
Strength gain guide (ordinary Portland cement)
About 65 percent at 7 days
100 percent at 28 days
Continues to rise slowly afterward
Split Tensile Strength Test
A cylinder is loaded along its diameter, and the splitting load gives an indirect measure of tensile strength.
Flexural Strength Test
A beam specimen (commonly 150 x 150 x 700 mm) is loaded at third points or center point to find the modulus of rupture. Used for pavements and slabs on grade.
Modulus of Elasticity Test
Measures stiffness from a stress-strain curve, important for deflection and serviceability design.
Water Permeability and Absorption Tests
Evaluate durability. Examples: water penetration depth test, initial surface absorption test, and rapid chloride permeability test.
Density of Hardened Concrete
Weight divided by volume, which also helps detect voids and poor compaction.
5. Non-Destructive and In-Situ Tests
These are used when cube results are doubtful, when concrete in an existing structure must be assessed, or for quality surveys.
Test | Principle | Use |
|---|---|---|
Rebound hammer (Schmidt) | Measures surface hardness from the rebound of a spring-driven mass | Quick comparison of uniformity and approximate strength |
Ultrasonic pulse velocity (UPV) | Measures the speed of a sound pulse through concrete | Detects voids, cracks, and quality variation |
Core test | A core is drilled from the structure and tested in compression | Most direct measure of in-place strength |
Pull-out test | Measures force to pull out an embedded insert | Estimating in-place strength |
Half-cell potential | Measures electrical potential of reinforcement | Probability of corrosion |
Carbonation depth test | Phenolphthalein spray shows the depth where concrete alkalinity has dropped | Corrosion risk |
Cover meter / rebar scanner | Electromagnetic detection | Locates bars and measures cover |
Ground-penetrating radar | Radar reflection | Locates reinforcement, voids, and ducts |
Chloride content test | Chemical analysis of dust samples | Corrosion risk assessment |
Maturity method | Uses temperature history to estimate strength | Deciding formwork removal and early loading |
Rebound hammer and UPV results are indicative and are best calibrated against core tests. Cores are the preferred evidence when strength is disputed.
6. Structural Load Testing
If the strength of a structure or element is in serious doubt, a controlled load test may be carried out, loading the structure to a specified fraction of design load, holding it, and measuring deflection and recovery against code limits. This is a last resort and is done under engineering supervision.
What to Do When Results Fail
Verify the test: check sampling, casting, curing, machine calibration, and calculations.
Review records: batch tickets, water additions, slump, temperature, and curing history.
Carry out non-destructive tests on the affected area.
Take cores for direct strength assessment.
Structural assessment: the engineer decides whether the element is acceptable, needs strengthening, or must be replaced.
Issue an NCR and record the root cause and corrective action.
Common Mistakes in Concrete Testing
Adding water to the sample or to the mix before sampling
Sampling from the first or last portion of the discharge instead of the middle
Poor compaction or inadequate oiling of moulds
Moving cubes in the first 24 hours
Curing cubes in air or in unclean or non-temperature-controlled water
Uncalibrated testing machines
Mislabeling cubes or losing records
Testing at the wrong age
Treating a single rebound hammer reading as proof of strength
Records to Maintain
Mix design approval and trial mix reports
Delivery tickets and batch records
Slump and temperature records for every pour
Cube register: date, location, element, grade, cube ID, and test results
Calibration certificates for machines and instruments
Non-destructive test and core reports
NCRs and corrective action records