

Article details
Centerline Marking for Excavation in Construction: Start to End
Centerline marking is the process of taking the buildings design from the plans and putting it onto the ground. This ensures that when the digging, the foundations and the walls are built they are in the right spot. A small mistake of a few centimeters here can cause big problems later. A foundation that is placed wrong is one of the expensive mistakes to fix. This article goes into detail on the process from getting ready to the last check before the digging starts.
Why Centerline Marking Matters
Fixes the spot for columns, walls and footings as shown on the plans
Makes sure the building is straight in line and at the right height
Sets the limits for digging for each footing or trench
Keeps the building inside the property lines and the required space from the edges
Gives a reference that can be checked again and again during the building process
Stage 1: Preparation Before Marking
1. Study the drawings
Look at the plan foundation layout, column positions and the site plan. Take note of the size, grid lines, column sizes, footing sizes, the space from the edges and the height of the base.
2. Check the site documents
Approved building plan and the allowed space from the edges
Survey of the property and the size of the land
Location of the benchmark and the height level
3. Get the site ready
Clear the area of plants, rubbish and old buildings
Level the ground. Make it rough
Find and mark existing underground pipes and cables
Remove anything that gets in the way of marking
4. Get the tools and materials
Measuring: Steel tape (30 m or 50 m) measuring wheel
Angle setting: station, theodolite or builders square
Leveling: Dumpy level or auto level, leveling staff
Marking: Wooden pegs, nails, lime powder, thread or nylon string plumb bob
Referencs: Batter boards or profile boards, cement or concrete for permanent marks
5. Choose a team
A surveyor or site engineer, an assistant with the tape and workers to put the pegs and use the lime. Both the contractors engineer and the clients representative should be there for parts.
Stage 2: Creating Reference Points and the Main Line
1. Set the benchmark
A benchmark is placed outside the building area on a strong object like a concrete pillar and protected from being moved. Its height is brought to the site.
2. Find the starting corner
Use the site plan to find one corner of the building from the property line or from a known point. Measure the distance from the road and side lines. Mark that spot with a peg and a nail.
3. Make the main line
Draw a line from the starting corner along the longest most stable side usually parallel to the road or the edge. Mark it with pegs and a tight string. All other lines are measured from this line.
Stage 3: Marking the Shape of the Building
1. Make an angle
The corner has to be exactly 90 degrees. Common ways to do this are:
3-4-5 method (Pythagorean): From the corner measure 3 meters along the line and 4 meters in the other direction. Adjust until the diagonal between these points is 5 meters. Multiples like 6-8-10 or 9-12-15 give accuracy over long distances.
Total station or theodolite: Place the instrument at the corner. Turn exactly 90 degrees. This is the way on big projects.
Builders square: for small homes.
2. Mark the lines
Using the size of the building measure along the two lines from the corner and put pegs at the other corners. Finish the shape of the building.
3. Check the shape with diagonals
Measure both diagonals of the shape. For a rectangle they need to be the same. A small difference is allowed, up to 5 to 10 mm for small buildings and even less for big or precise work.
4. Check the size. Angles
Measure each side again against the plan. Make sure the space from the edges is still correct.
Stage 4: Marking the Grid and Column Positions
1. Make grid lines
Big buildings use a grid system with letters in one direction (A, B, C) and numbers in the other (1, 2 3). Grid lines go through column centers or wall centers.
2. Mark the center points
From the line measure the grid spacing as shown in the plan and put pegs at each line. Stretch strings between pegs. The place where the strings cross is the point for a column.
3. Put the cross points on the ground
Drop a bob from each string intersection and mark the spot with a peg and nail or a small cement mark.
4. Mark the wall centers
For buildings with load-bearing walls or strip footings mark the center lines of all walls the way.
5. Check the grid again
Measure the grid spacing from a direction.
Measure diagonals across some grid sections.
Compare how far the grid is from the building shape to make sure everything is in line.
Stage 5: Marking the Digging Areas
The centerline shows where the footing is. The digging is bigger than the footing.
1. Find the digging width
Digging width = footing width + space on each side ( 300 mm to 600 mm depending on the formwork, depth and soil). Any space for sloping or support.
2. Mark the digging lines
From each centerline or column point measure half the digging width on both sides. Mark these lines with lime, string or pegs.
3. Mark the corners. Ends
Finish the rectangle for each pit or the long lines for strip footings.
4. Account for slope or support
In digging the top is wider than the bottom. The slope depends on the soil type, depth and support method so the top must show the shape.
Stage 6: Setting Up the Boards (Profile Boards)
Pegs can get moved when digging starts permanent marks are needed.
1. Put in the boards
Drive posts outside the digging area, usually 1 to 2 meters from the building corners and along each grid line. Fix boards across them and make sure they are level.
2. Move the lines
Stretch strings between boards on sides to recreate the centerlines or outer lines. Mark the lines on the boards with cuts or nails.
3. Benefits
Lines can be taken down. Put back anytime without remeasuring
The reference stays even after digging
Used later for footing, base and wall positions
Stage 7: Marking the Heights
1. Bring the height from the benchmark
Use a level or auto level to bring the benchmarks height to the site and put a temporary benchmark (TBM) near the building.
2. Show the height level
Mark the base height or the finished floor height on a fixed object then calculate how deep the digging needs to be.
3. Mark the digging depth
Depth is found from the foundation plan and the soil report. Mark the depth on pegs or on a leveling staff so the diggers know when to stop.
4. Put level marks inside the pit
After the digging put level marks at the bottom and check them often while digging.
Stage 8: Marking with Lime and Final Checks
1. Lime marking
Use the strings as a guide. Pour a thin line of lime powder along the digging lines so the machines and workers can see them easily.
2. Final check list
Space from all edges matches the plan
All corners are 90 degrees with diagonals within the allowed range
Grid spacing matches the plan in both directions
Column positions are exact and safe
Digging width and length include enough room
Benchmark and levels are correct
Boards are strong, level and clearly marked
Pipes and other things are marked
3. Get approval
The site engineer, client representative or consultant signs off on the layout before digging starts. Photos and a layout sheet are kept.
Stage 9: During Digging
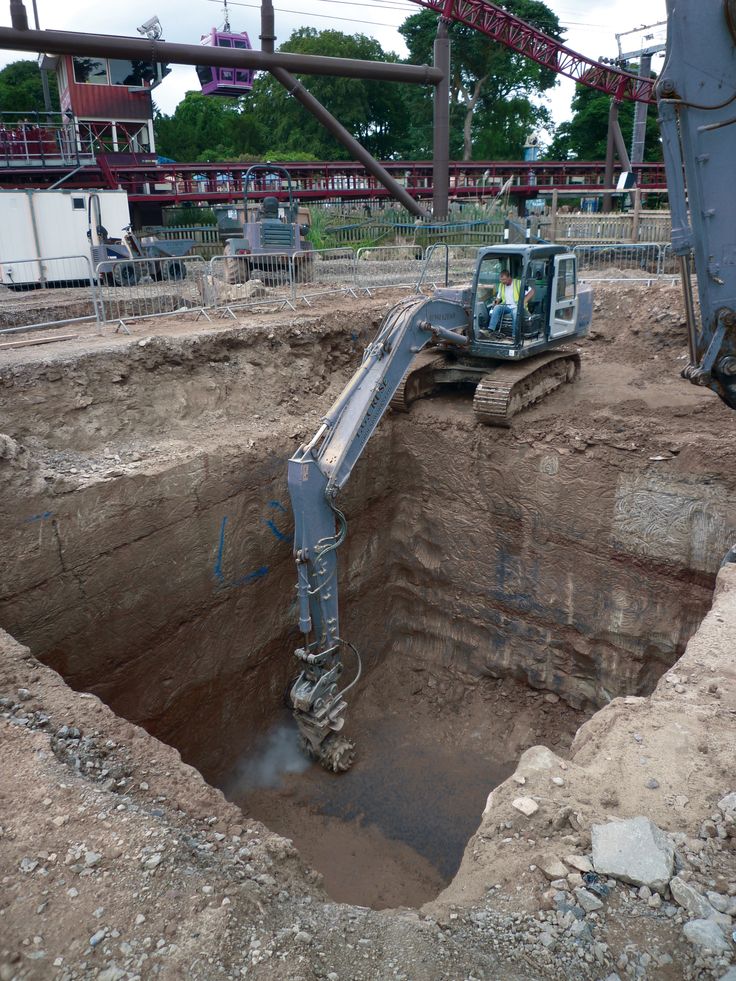
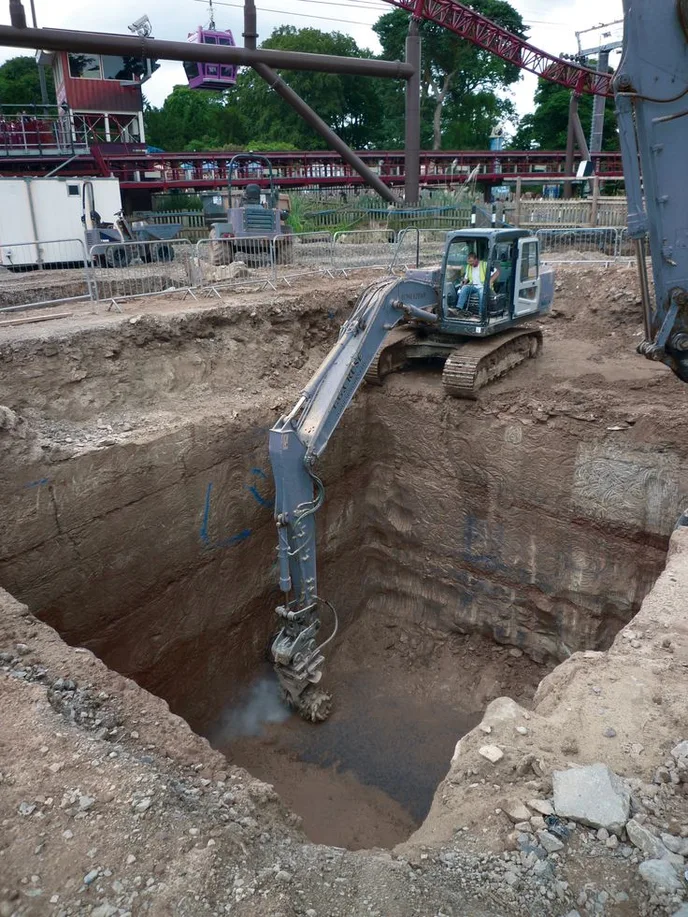
Dig carefully to the lines and depth marked avoiding digging deep which wastes material and weakens the soil.
Keep the reference marks safe from vehicles and machines. Do not move the boards.
Check the lines and levels often after rain, heavy machines or any movement.
Check the depth with a leveling staff. Make sure the pit size is correct.
Re-mark the centerlines at the bottom of the pit by using a bob from the boards so the footing and walls are in the right place.
Stage 10: After Excavation
Once the digging is done:
Check the size, depth and bottom of the pit
Look at the soil at the bottom against the soil report
Prepare the base with leveling concrete (PCC) then mark the centerlines and footing shape again on it
Keep using the reference, for column bars, base beams and wall layout
Tolerances
Element | Typical tolerance |
|---|---|
Linear dimension | Within 5 to 10 mm per 10 m (specification dependent) |
Diagonal difference | 5 to 10 mm for small buildings |
Angle | Within 1 minute of arc for total station work |
Level | Within 3 to 5 mm of the reference |